
|

|

|

|

|

|

|

|

|
onMouseOver="flipB2(onB2)" onMouseOut="flipB2(offB2)">

|
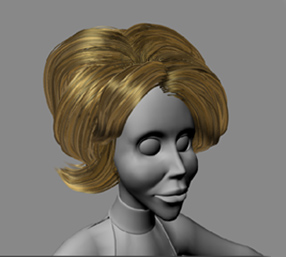
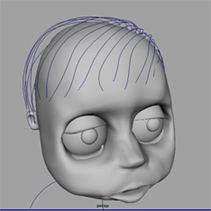
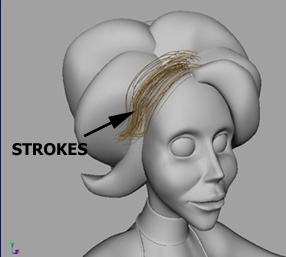
DIGITAL HAIRCUTS
[ part one | part two ]
PART ONE: PAINT EFFECTS GUIDE HAIRS
|
|
|
|
|
|
|
|
|
|
|
onMouseOver="flipB2(onB2)" onMouseOut="flipB2(offB2)">
|
|
|
|
|
|
|
|
onMouseOver="flipB2(onB2)" onMouseOut="flipB2(offB2)">
|
(c) 2004, All Rights Reserved. "Make Links not Copies"